


Our Guide to Resin For Beginners: Make Dried Flower Coasters
Epoxy Resin Coasters
By Jennie Lennick
DIY Poured Resin Floral Coasters
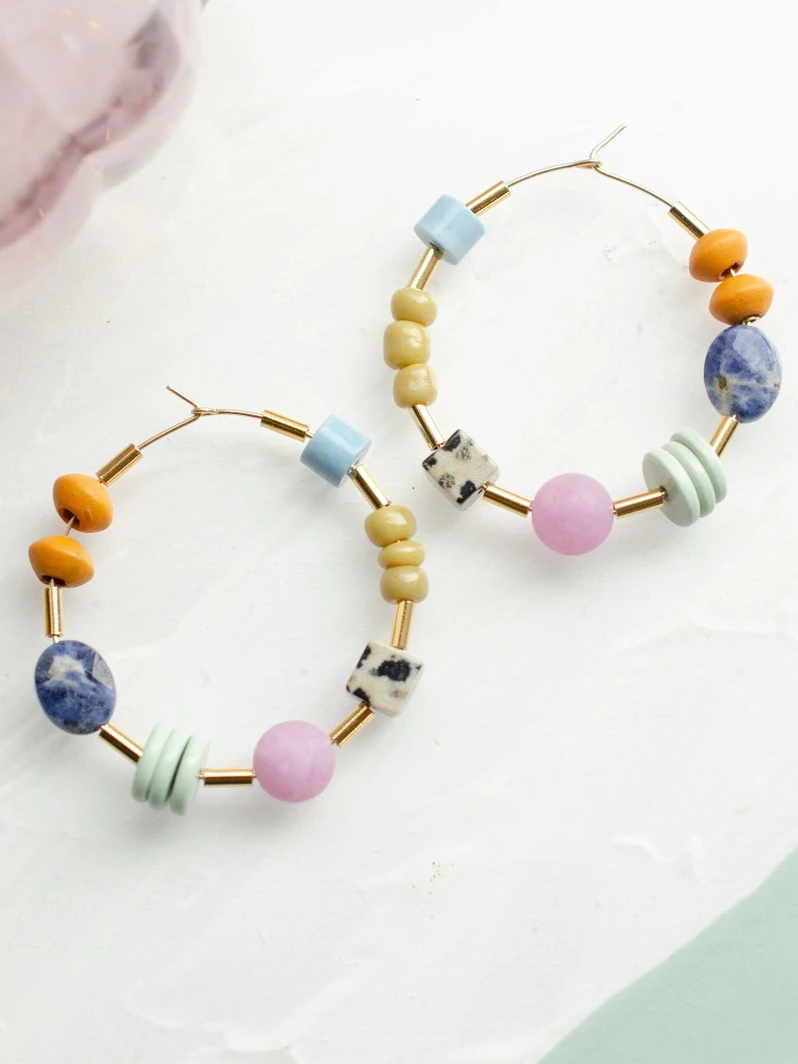
Pouring resin is a delightful process where you can encapsulate objects using a mold to create items like coasters, earrings, trays, and more! This tutorial will cover the basics of working with epoxy resin, from pouring to curing.
Getting started making resin artwork is intimidating! For one, the process seems magical- you start with a liquid, mix and pour it into a mold, and end up with a durable, beautiful object. How is it even possible!?
This blog will share the ins and outs of mixing resin properly and preparing silicone molds. I will go over safe practices for pouring and embedding objects in resin and how to pop the inevitable bubbles. This tutorial is centered around making a resin coaster with dried flowers, but you can use this technique for lots of different projects.
In this tutorial, I cover the following steps:
- How to prepare your space for pouring resin.
- How to mix resin and minimize bubbles.
- How to carefully pour resin.
- How to embed objects in your resin.
- How to incorporate glitter.
- How to effectively clean your work area.
- How to cure and finish your resin pieces.
Get ready to be addicted to making objects from resin! Let's do this!
Materials List:
- Our resin starter kit -OR-
- 8oz total (4oz Resin & Hardener)
- Silicone coaster molds
- Disposable gloves
- Stir sticks
- Measuring cups
- Paper towels
- Sanding board
- Dried flowers
- Rubbing alcohol for clean-up
- Heat gun (helpful but optional)
- A table covering
- A box or bin to cover your project


Step 1: Prepare Your Space For Pouring Resin

My first try at making objects from resin didn't go so well- my pieces ended up sticky and never fully hardened. This is because, I did not correctly set up my space for working with resin.
Make your space and materials the right temperature
Resin works best in rooms that are 70-80 degrees. If you are in a cold space like I am (hello, San Francisco fog!), use a space heater to raise your room temperature.
Your resin will mix better if it is warm. Set your resin bottles in a bowl of warm water while setting up your work area. Dry your bottles with a towel before opening them when you're ready to start. You want to ensure that you do not introduce water into the resin mixture.
Protect your table & yourself
Cover your surface with a piece of cardboard or thick paper. Resin is sticky and difficult to clean, so I used an old paper bag and tape to protect my space.
Make sure your space is well ventilated. Resin is not super healthy to breathe for long periods. If you get really into this craft, consider purchasing a respirator.
Wear gloves while handling anything that comes into contact with resin. I keep a few extra pairs handy to change my gloves as needed.
Remove dust from your molds
Use a little tape to remove dust and debris from your mold. Your molds must be clean- any little speck of dust WILL show up in your finished piece.
Step 2: How To Mix Resin And Minimize Bubbles
Epoxy resin is made up of a combination of resin and hardener that needs to be mixed before use. Most resins are easy to measure and require a 1:1 ratio of hardener to resin. When getting started with resin, mix no more than 1-2 oz of resin, ensuring that you combine an accurate ratio.
When mixing your resin, you will inevitably get some bubbles in your mixture, and bubbles are the bane of every artist's existence. With good technique, you will minimize them!

Start by pouring resin into your measuring cup slowly. Tilt your cup to the side like you're pouring a beer.

Repeat with the hardener. Don't forget to pour slowly!
Mix your resin with a popsicle stick in a figure 8 motion. It should take around 5 minutes for your resin to mix.

You will know that you adequately mixed your resin when there are no streaks left in the mixture, and it looks crystal clear. This process should take no more than 10 minutes. If you still see streaks after 10 minutes, you are stirring too slowly. Start again with a new batch.
Step 3: Pouring Resin Into Your Mold

Once your resin is mixed, you have 30 minutes to work with it! Pour a thin layer of resin into your mold. You are not filling up your mold at this point!

Use your popsicle stick to loosen up any bubbles and move the resin around, so it fully covers the surface of the mold. Pay attention to the edges- that's where bubbles like to hide!
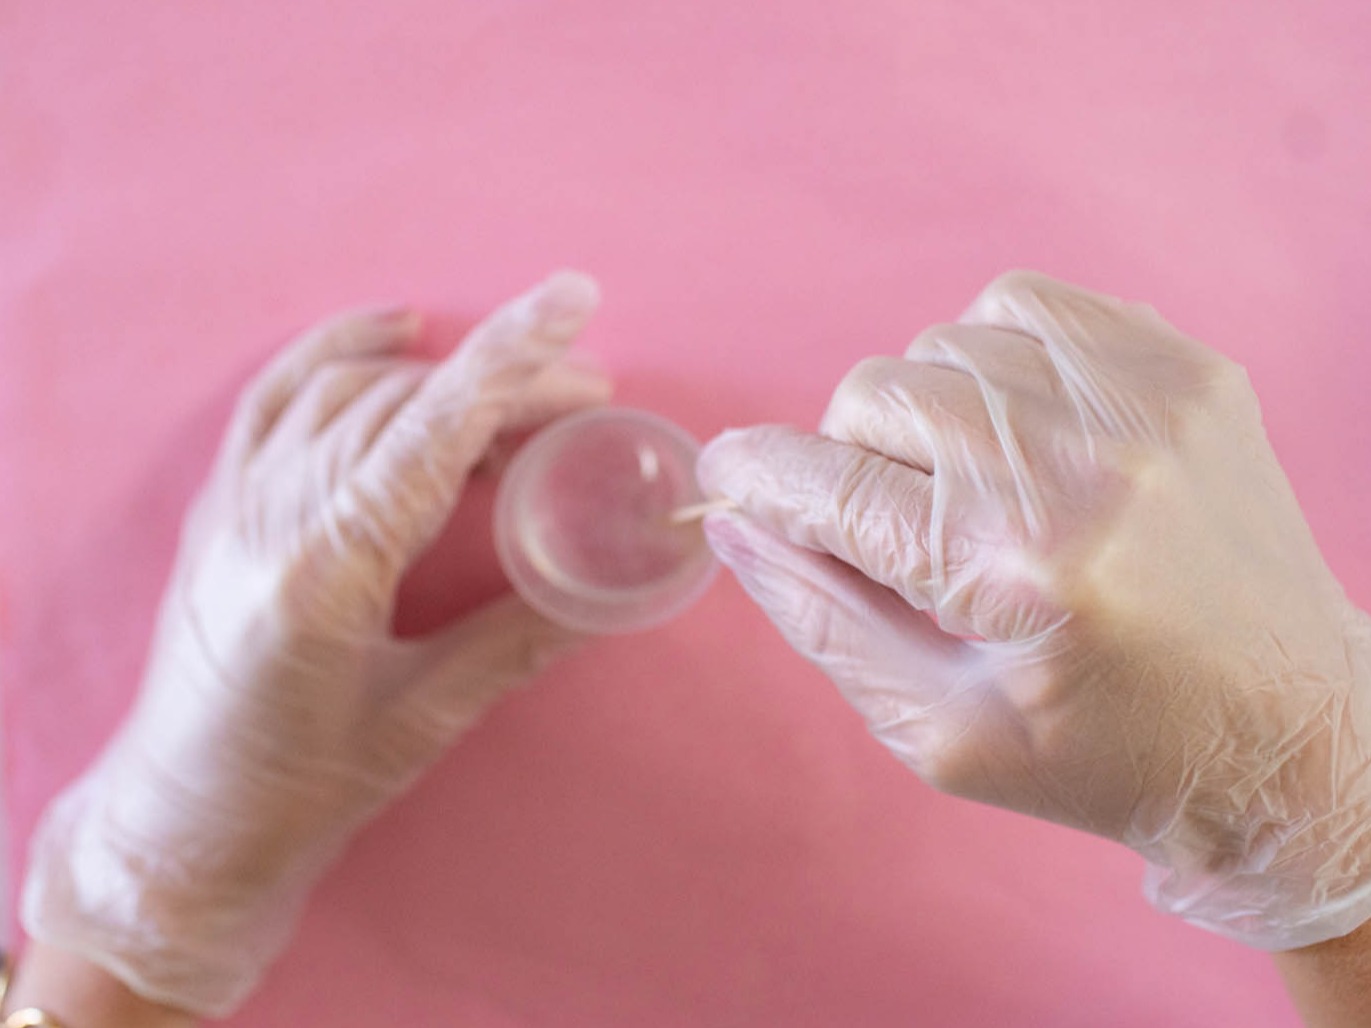
Step 4: Embedding Flowers

Take a dried flower and place it on top of the surface of your resin.

Repeat with the rest of your flowers. *TIP layout your flowers before embedding them in your resin so you can perfect your composition.

Use your popsicle stick to push the flowers under the surface of the resin. This will help saturate the flowers in resin and move bubbles to the surface.
Step 5: Layering Resin and Adding Glitter

Transfer your resin mixture from the measuring cup to a separate mixing cup. If you're out of resin, mix more!

Add a pinch of glitter into your resin and stir.
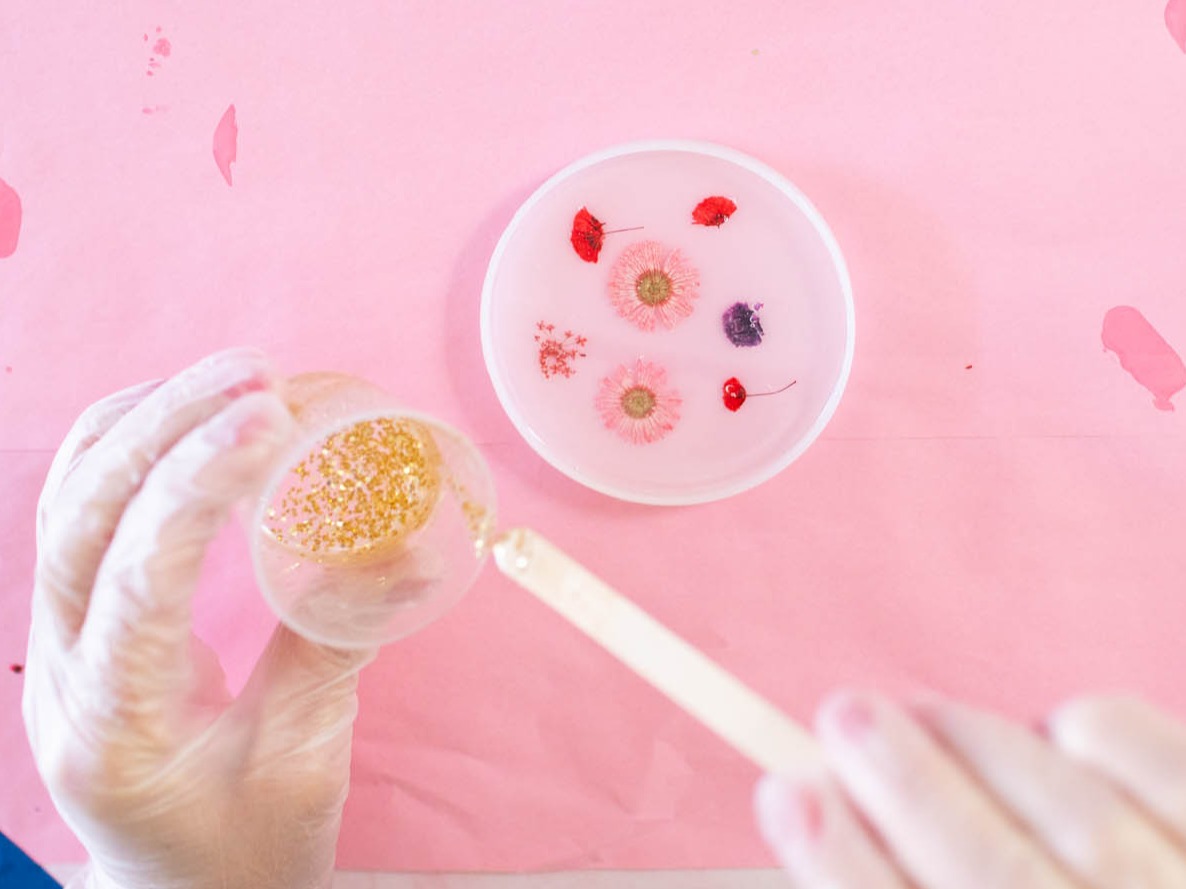
A little bit of glitter goes a long way. Add more if you need to!

Slowly and carefully pour a layer of glittery resin over your embedded flowers.
Make sure you fill your mold with resin to the top. If you need to mix more resin, do it. Underfilling a mold creates a domed resin piece- it will have a hard edge that you will need to sand.
Bubbles
Most microbubbles will work their way to the surface and pop independently. If you have a lot of bubbles, a heat gun is beneficial. Use the heat gun sparingly, though, or it can cause your resin to turn yellow.
Step 6: Cleaning Up

Resin cleans up super quickly with rubbing alcohol. Start by mopping up any excess resin with paper towels. Throw away your used popsicle sticks and any contaminated mixing cups.

Once you wipe off most of the resin, spray with rubbing alcohol and use paper towels to finish cleaning. The rubbing alcohol breaks down the resin mixture and cleans your tools thoroughly!
Step 7: Finishing Techniques
It's time for your project to cure!
Cover your pieces with a box or bin and LEAVE THEM FOR 24 HOURS!
Please resist the urge to poke and prod them! Fiddling will only lead to fingerprints and dust getting stuck in your beautiful pieces.
 Demold your resin piece. Your edges may be rough.
Use a sanding file to take the sharp edges off your piece

I love my pieces and am so excited to make more! These coasters would make such a thoughtful gift, especially if you used pressed flowers from a special event, like a wedding or baby shower.


SHOP JENNY LEMONS


Want more home decor DIYS? Check out these tutorials and get inspired to update your space!
- How to Make Paper Flowers - Create a Big Impact With This Easy Craft
- 5 Tips to Create a Dream Studio Space at Home
- Create DIY Soy Candles at Home
- Dried Citrus Decorations- Make Wreaths and More! Make
- Watercolor Folded Leaves- DIY Tutorial with Downloadable Templates
- How to Make a Fake Cake
Check out my Pinterest board full of magical resin project ideas and tips for beginners!
Thanks for visiting! You can check out more DIY projects on our blog here.

JENNIE LENNICK
Designer, entrepreneur, and lover of crafts! Boss Lady at Jenny Lemons in San Francisco, California.
